配置环境
- Windows PC一台且已经安装有Git
- Github账号一个
创建博客仓库
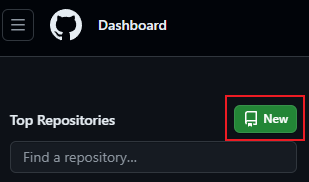
- 在github主页点击New按钮为博客创建一个仓库
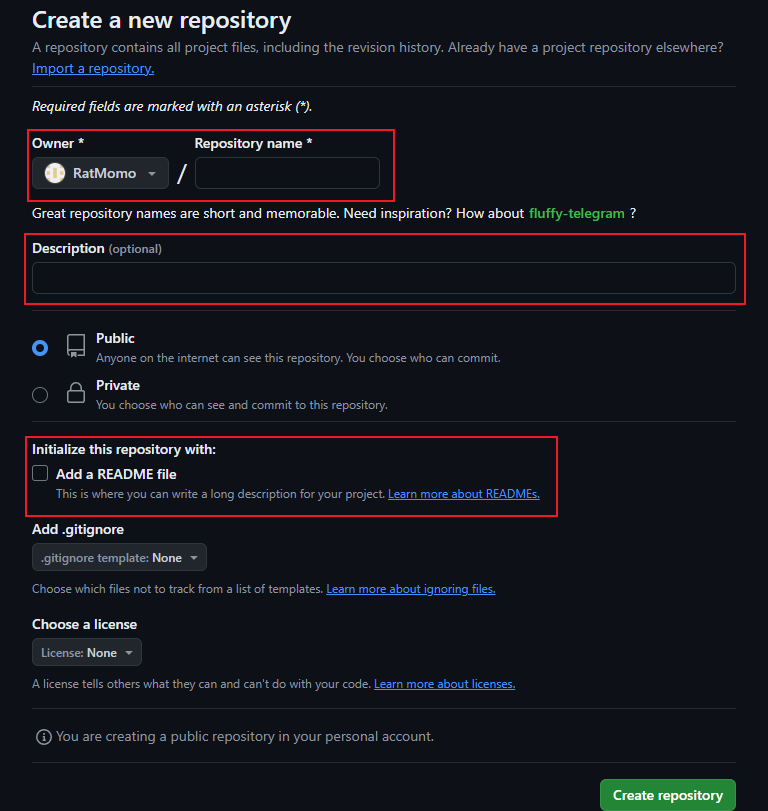
- 在Repository name项填写仓库名,注意必须使用
<user>.github.io的格式,<user>为Github用户名。可选在Description填写仓库描述,注意需要勾选Initialize this repository with a README选项。
安装Hugo
- 版本较新的Windows推荐直接使用winget的方式安装Hugo,其他操作系统的安装方法可以查阅官方文档:Hugo官方文档
1
| winget install Hugo.Hugo.Extended
|
如果使用Chocolatey命令如下:
1
| choco install hugo-extended
|
- 安装完成后查看hugo版本验证安装是否成功
在本地创建博客项目文件夹
- 创建一个文件夹用于存放博客项目并在终端中打开

- 使用hugo创建网站项目
1
| hugo new site ratmomo-blog # 可以替换成任意你想要的名字
|
安装主题
- 找到一款你喜欢的主题,可以使用Hugo社区提供的主题,也可以使用你从其他地方找的心仪主题
- 根据主题的页面或者主题提供的文档安装主题,例如本博客使用的主题Stack。鉴于我们已经使用了Git创建网站文件,我们使用
git submodule命令将主题作为子模块使用
1
| git submodule add https://github.com/CaiJimmy/hugo-theme-stack/ themes/hugo-theme-stack
|
- 将
themes文件夹中安装好的主题中的exampelSite文件夹中的配置文件hugo.yaml(也有可能是hugo.toml之类的)复制到你的项目文件夹中,再将archetypes中的文件复制到你的项目文件夹的archetypes中,根据配置文件的注释和主题的官方文档修改配置,如果使用的是我推荐的Stack,需要注意以下配置:
 1
 2
 3
 4
 5
 6
 7
 8
 9
10
11
12
13
14
15
16
17
| baseurl: https://example.com # 需要修改成你的网站<user>.github.io
title: Example Site # 需要修改成你想在标签页显示的名称
DefaultContentLanguage: en # 如果是中文博客注意修改成zh-cn,以添加i18n支持
hasCJKLanguage: false # 如果是DefaultContentLanguage修改成zh-cn,修改为true
sidebar:
emoji: 🍥
subtitle: Lorem ipsum dolor sit amet, consectetur adipiscing elit.
avatar:
enabled: true
local: true
src: img/avatar.png # 头像的位置在assets/img/avatar.png
article:
math: false # 使用数学公式需要打开
|
创建文章
- 使用Hugo创建文章,生成的Markdowen文件的元数据中image可以指定文章封面,draft表示文章是否属于草稿,草稿文件不会被发布,hidden表示文章是否会被隐藏
1
| hugo new post/test/index.md
|
- 完成后可以使用以下命令预览:
发布文章
直接执行hugo命令可以为你的博客项目在public文件夹中生成静态的html文件,发布博客实际上只需要向仓库推送public文件夹中的内容
将public文件夹初始化为git仓库,并将远程仓库地址设置为Github Pages的仓库地址
1
2
3
| git init -b main
git remote add origin 你的远程仓库地址
git add .
|
随后便可以推通过Git推送文章了
1
2
| git commit -m "First commit"
git push -u origin main
|
番外篇:自定义你的站点
自定义网站图标
在配置文件hugo.yaml中可以指定网站的图标
1
2
| params:
favicon: /favicon.ico # 实际上的位置是static/favicon.ico
|
将你的ico图标文件放置在你的项目文件夹中的static文件夹并命名为favicon即可
修改你的主题
这里以为stack主题的article页面添加网易云音乐的外链为例:在themes\hugo-theme-stack\layouts\partials\article\components文件夹中新建一个文件music.html写入网易云音乐的外链模板
1
2
3
4
| <!-- .Params.musicid可以获取Markdown文件元数据中的musicid这个属性,这样我们便可以在markdown中指定我们要插入文章的音乐 -->
<iframe frameborder="no" border="0" marginwidth="0" marginheight="0" width=100% height=86
src="//music.163.com/outchain/player?type=2&id={{ .Params.musicid }}&auto=0&height=66">
</iframe>
|
我希望网易云音乐的外链在页面中位于文章中的标题之下,文章内容之上,所以需要编辑content.html的内容
1
2
3
4
5
6
7
8
9
| <section class="article-content">
<!-- Refer to https://discourse.gohugo.io/t/responsive-tables-in-markdown/10639/5 -->
{{ $wrappedTable := printf "<div class=\"table-wrapper\">${1}</div>" }}
<!-- 下面三行是增加的内容 -->
{{ if .Params.musicid }}
{{ partial "article/components/music" . }}
{{ end }}
{{ .Content | replaceRE "(<table>(?:.|\n)+?</table>)" $wrappedTable | safeHTML }}
</section>
|
打开项目目录下的archetypes中的default.md文件,在元数据中添加一行musicid属性
这样就完成了主题的修改,不过由于我们安装主题使用的是Git submodule的方法,因此本地的修改实际上不能在Github Pages产生效果,我们需要一些额外的工作。首先打开你安装的主题的Github仓库并fork

修改我们submodule的远程仓库地址,打开项目目录下的.gitmodules,将submodule的url修改成远程仓库的地址,随后执行命令更新远程仓库地址
随后将我们的修改推送到远程仓库即可
番外篇:使用GitHub Action自动发布博客
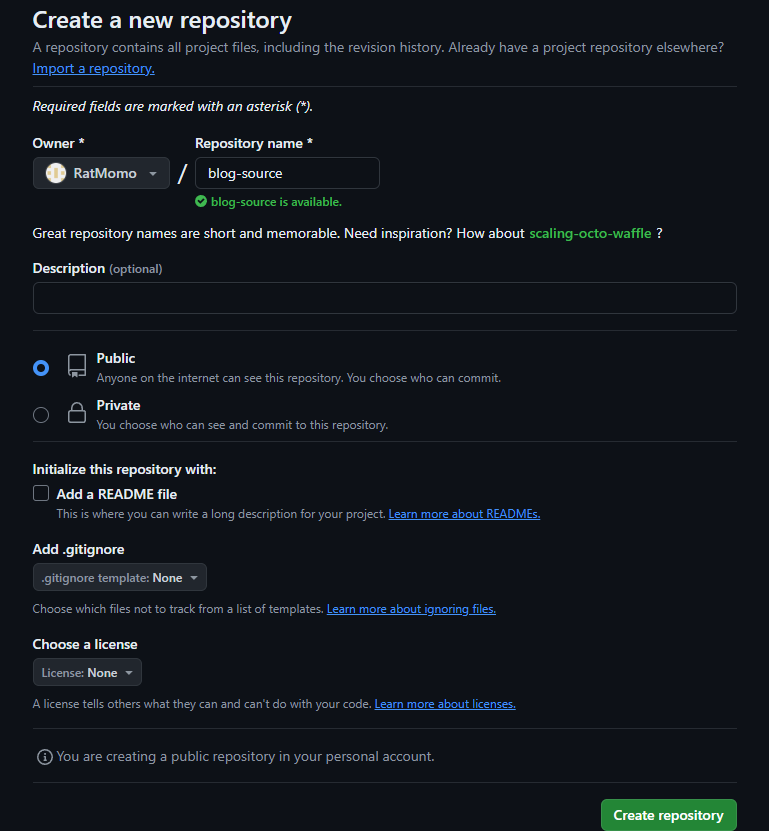
创建一个新的仓库,用于存放整个项目,作为博客源仓库
使用git remote set-url命令更改远程仓库地址
1
2
3
| git remote -v
git remote set-url origin git@github.com:ratmomo/blog-source.git
git remote -v
|
在本地仓库中创建文件.github\workflows\gh-pages.yml
1
2
3
4
5
6
7
8
9
10
11
12
13
14
15
16
17
18
19
20
21
22
23
24
25
26
27
28
29
30
31
32
33
34
35
36
37
| name: GitHub Pages
on:
push:
branches:
- main # Set a branch to deploy
pull_request:
jobs:
deploy:
runs-on: ubuntu-22.04
concurrency:
group: ${{ github.workflow }}-${{ github.ref }}
steps:
- uses: actions/checkout@v4
with:
submodules: true # Fetch Hugo themes (true OR recursive)
fetch-depth: 0 # Fetch all history for .GitInfo and .Lastmod
- name: Setup Hugo
uses: peaceiris/actions-hugo@v3
with:
hugo-version: '0.127.0' # 注意修改成你的hugo版本,以防兼容性错误
extended: true # 是否启用hugo extended
- name: Build
run: hugo --minify
working-directory: ./ratmomo-blog # 注意修改成你使用hugo创建的项目名称
- name: Deploy
uses: peaceiris/actions-gh-pages@v3
if: github.ref == 'refs/heads/main'
with:
PERSONAL_TOKEN: ${{ secrets.ACTION_TOKEN }}
PUBLISH_DIR: ./ratmomo-blog/public # 注意修改成你使用hugo创建的项目名称
EXTERNAL_REPOSITORY: ratmomo/ratmomo.github.io # 你的Github Pages远程仓库名
# PUBLISH_BRANCH: master 如果不想推送到gh-pages分支,可以添加这一行
|
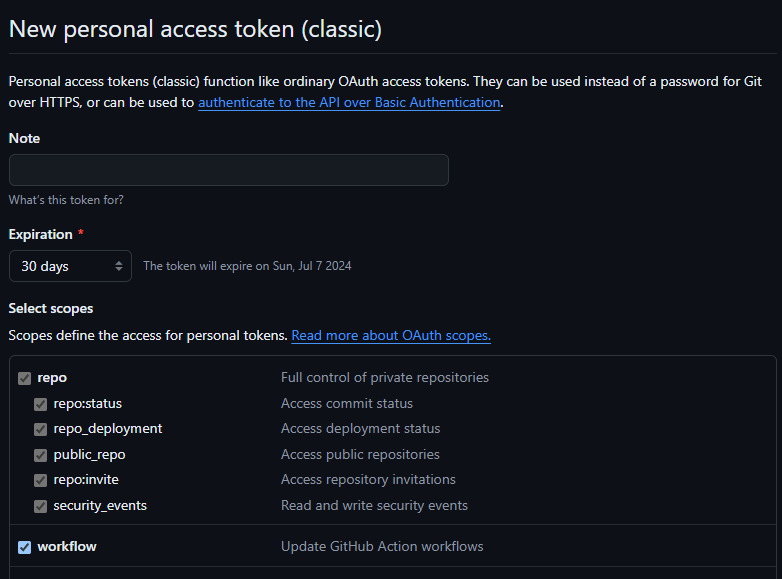
在Github Profile页面下Developer setting - Personal access tokens中创建一个tokens,注意勾选repo和workflow权限
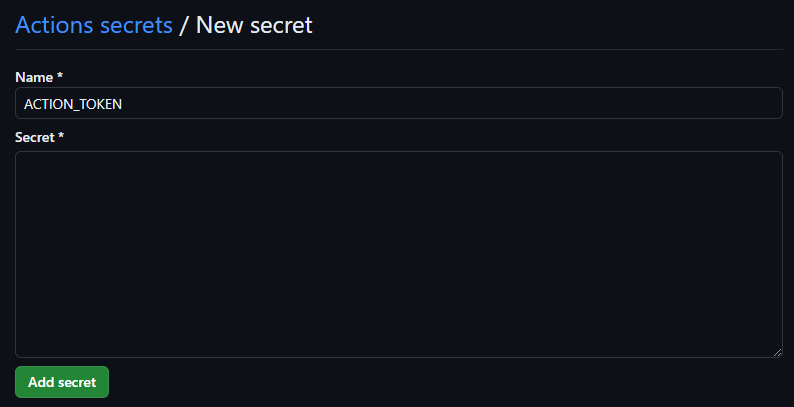
在博客源仓库的Settings-Secrets and variables-Actions-Repository secrets中添加一个ACTION_TOKEN内容为刚刚创建的tokens
接下来直接push本地的修改到远程博客源仓库,Github Action会为我们完成生成静态页面和推送到GitHub Pages仓库的任务
如果之前配置的推送目标时gh-pages分支,注意将GitHub Pages仓库的Sittings - Pages - Build and deployment - Branch修改为gh-pages
参考
Hugo Documentation | Hugo
Site-wide settings | Stack
如何用 GitHub Pages + Hugo 搭建个人博客 · 小绵尾巴
Hugo 博客引入 Giscus 评论系统 -
Hugo + GitHub Action,搭建你的博客自动发布系统 · Pseudoyu